Browsing Category

Recipes

81 In Life/ Recipes

Severe Weather & Peppermint Patties

weatheralert

I have a confession…
I love severe weather.

I love the idea of hunkering down and riding out a storm. I inherited that from Daddy Boy. When we were little he {and mom} both drove Jeep Grand Wagoneers and they drove them because they had 4 wheel drive and we mostly lived where snow was inevitable. Mom’s was white {Jill} and Daddy Boy’s was black {Jack}. And Jack and Jill could climb hills to fetch stranded motorists in snow storms, which I’m pretty sure is why dad bought them.  I have such fond memories of my dad loading us into his Wagoneer after a big snowfall, he’d always bring a chain and we’d go on a search for stranded motorists. Then we’d get back home and Mom would have hot chocolate and buttered toast for us {mmm… you should try it} and Daddy Boy would get suited up in his snow gear, and camo ski mask and crank up the John Deere riding lawn mower that had a snow blower attachment mounted on the front. He would leave for hours, scraping every person’s driveway on our street. Anyway…  I love severe weather, not the kind that is super severe and hurts people, just the mild kind that gets kids out of school and makes people turn on the weather channel… and guess what, we’ve had no severe weather and I dare say, I might even like hearing about severe weather more than I like experiencing it. I’ve been living vicariously through my family that live in Illinois. And I’ve especially enjoyed the play by plays from Daddy Boy and Cousin who both rode it out in Chicago.

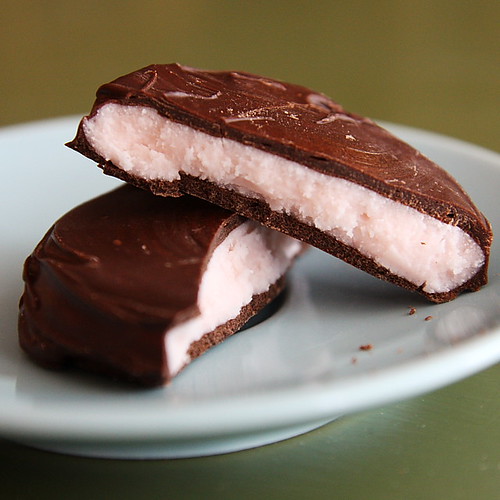
So, in honor of snow storms and the month of February I made peppermint patties with pink peppermint!

patties

Now, I won’t lie… I thought they were going to be super easy, which they were…. u  n  t  i  l,  I got to the step that said “dip your peppermint patties into the chocolate, coating well on both sides”. There was no “dipping them in warm chocolate” because the peppermint fillings were soft and pliable and dipping them in the warm chocolate proved to be completely disastrous and impossible. I’ll start from the beginning… with the short list of ingredients {recipe link posted at bottom}

  • powdered sugar
  • peppermint extract
  • sweetened condensed milk
  • semi sweet chocolate chips
  • shortening

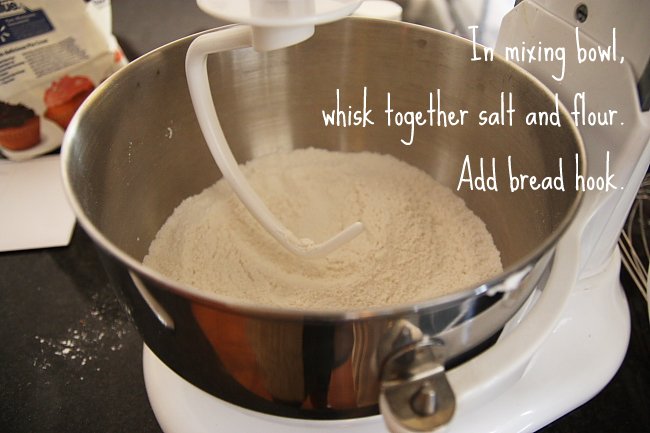
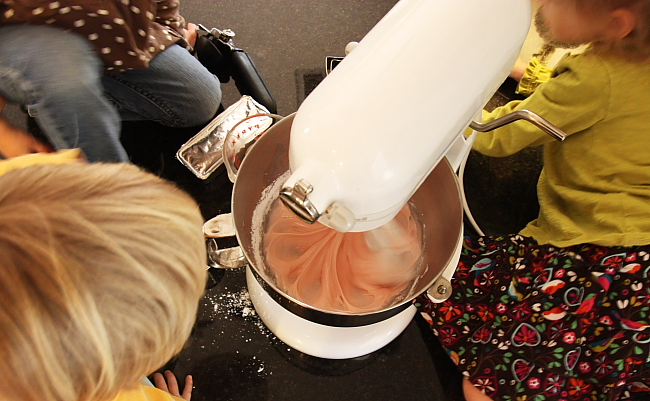
It started off fairly easy… with mixing the powdered sugar, condensed milk, and peppermint extract in the mixer… and I added 1 drop of red food coloring for a soft pink peppermint filling. I, of course, had a few eager helpers.

kids

peppermint

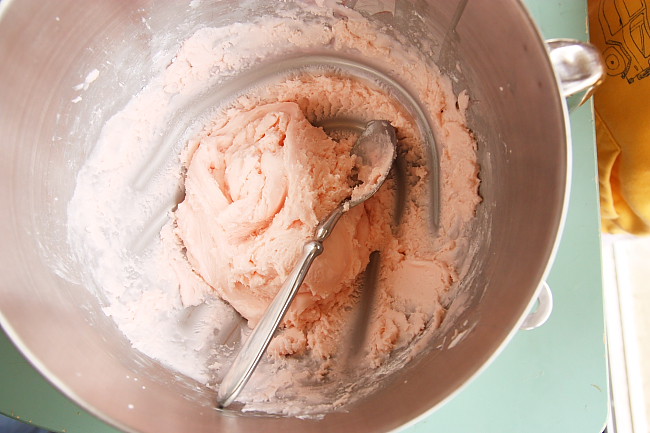
The peppermint filling was so good, I could have eaten it by the spoonful… and I might have eaten it by the spoonful. Then {with a clean spoon} I scooped a little out at a time, rolling it into 1″ balls and then pressing each one out to make a patty.

peppermintpatties

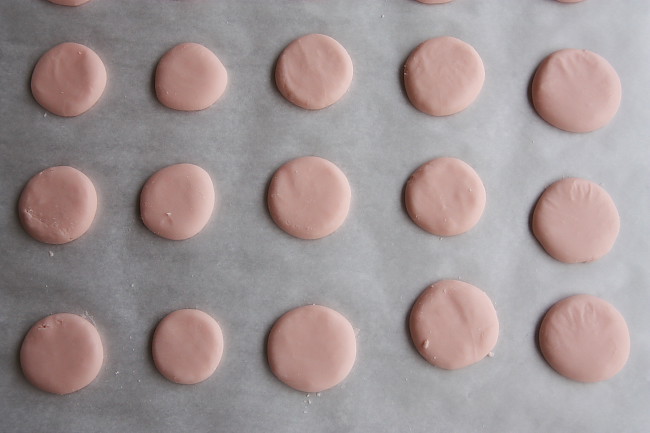
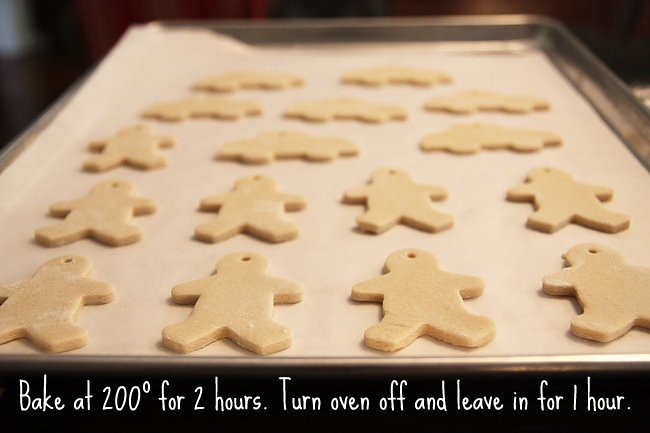
The directions said to let them dry for 2 hours, turning over after one.

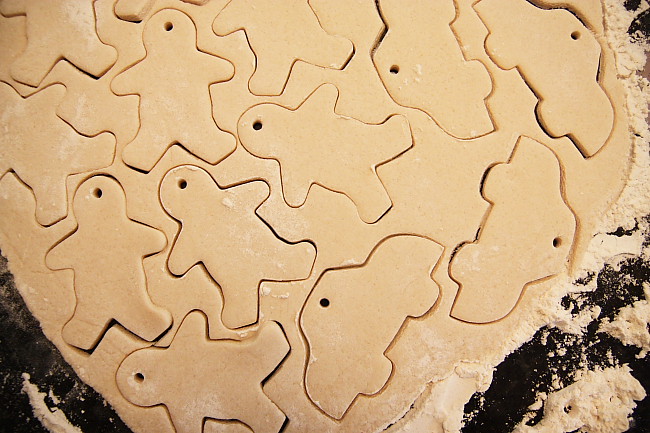
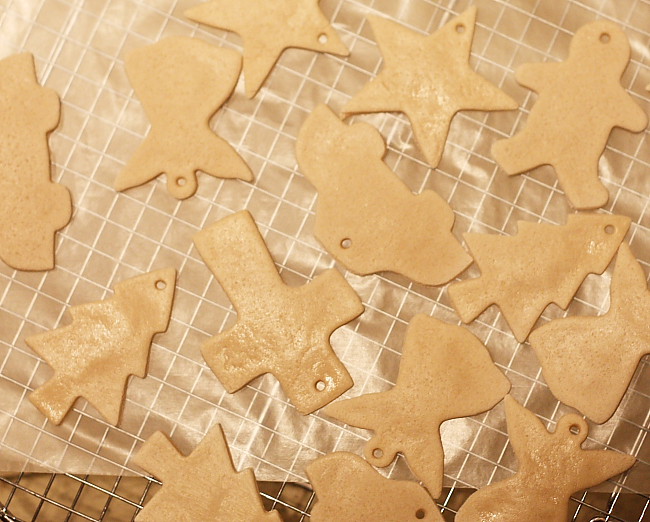
After they dried for at least one hour I decided to cut a few hearts out, dipping my cookie cutter in powdered sugar…

heartpatties

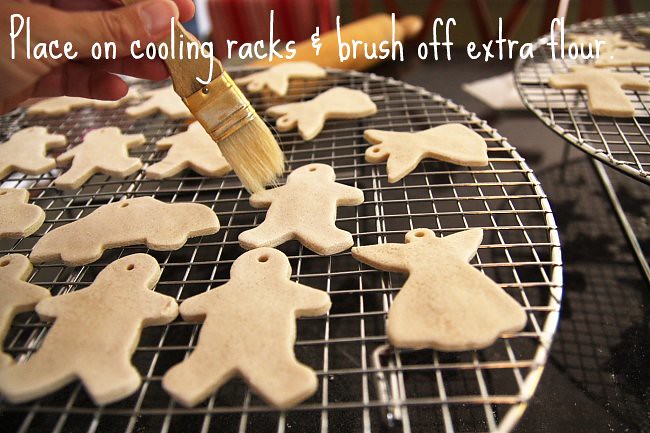
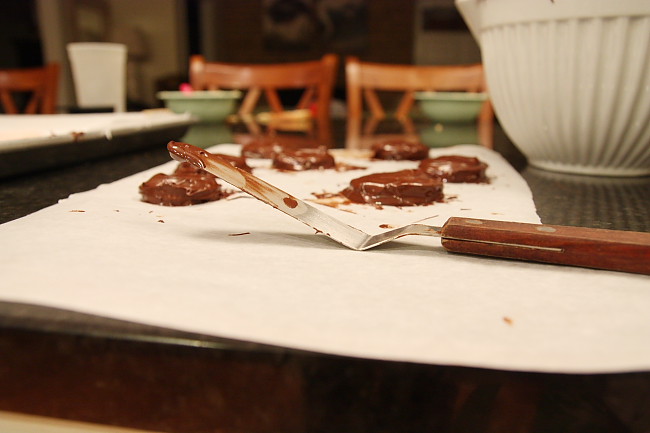
After they all dried according to the directions, they were supposed to be ready to “dip” in chocolate. Oh, they were so wrong. You see these patties are soft and pliable. Dipping them in warm chocolate made them lose their shape and the chocolate {even with extra shortening added} was still too thick… so I resorted to my favorite tool in the kitchen. {I also dusted off the excess powdered sugar before coating in chocolate.} If I had been a good baker, I would have read the 93 recipe reviews first, many that suggested freezing the patties to make the dipping part easier, using a candy mold, or using “melting” chocolate from the baking aisle opposed to semi-sweet chips…  reading all of that before hand would have been really helpful.

But since I didn’t read any of that before I started my mini offset spatula saved the day… and parchment paper saved the day too. I always use parchment even when it calls for wax paper, which it did, but some reviewers said “don’t use wax, they stick” so if you try it, go with parchment.

spatula

I’d pick up a fragile little patty…

pattyup

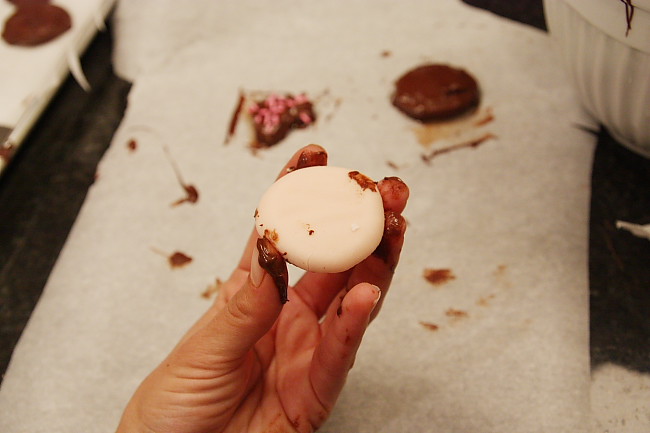
Then I’d smear a little chocolate on the bottom of a patty and plop it down…

pattydown

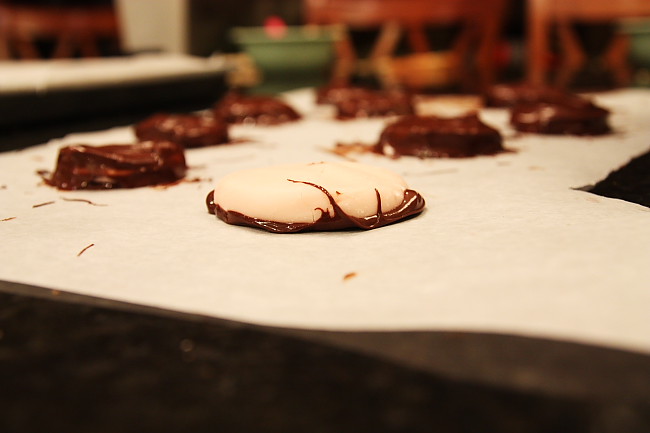
Then I’d doctor it up around the sides and top {so involved I forgot to take a pic}… definitely a little more time consuming than I had anticipated.  Then once they were all well coated I popped them in the fridge over night. They are great chilled or room temp! Involved? Yes. But, I will say this, they’re really good and even better than York Peppermint Patties!

patties1

Next time, yes, next time because there will be a next time I will do one or more of the following…

– freeze my patties before dipping
– use a candy mold
– make the filling into small little round balls like junior mints
– use melting bark chocolate made for candy making

The recipe source is here.

Now I’m going to go have one for breakfast.

Happy Friday folks and a big thank you for ordering tees, would one of y’all tell me to start ordering more! 🙂

77 In Life/ Recipes

The Sky’s the Limit

Hi friends, I’m back again with another idea for you, but first…

morganstree

We have been up to our eyeballs in Christmas parties and Christmas programs, they are so fun and so precious but this Mommy is ready for the weekend to fully unwind and kick off our “Christmas holiday”!

The girls worked really hard one evening signing tags for the candy canes we bought for their classmates. It was so fun to watch them get down to business on the floor!

girls_candycanes

candycanes2

Our neighbors have been “fostering” this little guy… and my goodness is he precious. He’s been hanging out over here because he fits through our fence and because Eufaby tolerates the little guy. She likes to be tough but apparently she’s got a soft spot for “Buddy”. Rover was completely enthralled and tickled as they played together through the glass doors. rover and puppy2

Ok, now one more little project for Christmas!

hang

My friend Tami made them last week and they brought such fond memories of my childhood, I don’t remember ever making them, but Mom always had a tree in her kitchen filled with Salt Dough ornaments. And they are SO incredibly easy!

ingredients

doughhook

knead

flour

roll_out

cutout

strawpunch

holes

readytobake

scraps

brushoffflour

spray

dry

hang

You can paint them with acrylic paint before glazing, in fact, I tried a few but resorted to all natural because I liked it better! It could have something to do with the 3 paint colors I had to choose from: periwinkle, teal, and fuscia! We may try again and let the kids go to town with paint.

Salt Dough Ornaments

4 cups flour
1 cup salt
1 1/2 cups of warm water

Preheat oven to 200. Yields 30 to 40 small/medium size ornaments.

Wisk together flour and salt in mixing bowl {stand mixer if you have one} until well incorporated. Add bread hook* and gradually add warm water until dough ball collects. Using half of the dough at once, roll out on a floured surface until flat and very even {they do not rise at all so try get the rolled out dough as even as you can}. Using your favorite cookie cutters {dipped in flour} cut out shapes. The dough is fairly dense/heavy so a small to medium cutter is probably best.  Using a straw add a “hole” at the top of each ornament so it can hang. Transfer to cookie sheets {I lined with parchment, I don’t think you have to though} and bake at 200° for 2 hours, turn off oven and let sit for another hour. Remove from oven and place on cooling racks. Using a basting brush dust off excess flour. Now you can paint your ornaments if desired or not. Finish them by spraying them with a clear polyurethane {outside or in a well-ventilated garage} or a glossy Mod Podge, or if desired, you can leave them all natural!

*If you don’t have a stand mixer you can mix by hand and knead until the dough is well incorporated and all pulled together in a dough ball.

My mom’s salt dough ornaments were cinnamon… which were a beautiful and smelled delicious on her “kitchen tree”. You can make cinnamon salt dough by omitting 1 cup of flour and adding 1 cup of cinnamon and 1 cup of nutmeg. I think I’d skip the glaze and let them be “natural” as to maximize the scent! Her’s always smelled wonderful, even through many years!

The sky is really the limit with the salt dough! If you try it, I’d love to see pictures {darby@flythroughourwindow.com} and maybe share a few varieties on the blog!

Happy weekend and Merry Christmas!

::recipe above adapted from this one based on reviews::

**EDITED to ADD**

Some of you have questioned the amount of cinnamon in the Cinnamon Salt Dough, I agree it sounds excessive & expensive, but Mom’s were a rich cinnamon color which would take a ton of cinnamon. I have not tried to make these but my recipe sources are here & here and both call for 1 cup of cinnamon. I guess you could omit the nutmeg and decrease the cinnamon and see what happens.

51 In Recipes/ Sewing

A Few Ideas from the Archives

Are you in the mood to create a few Christmas presents? If you’ve been around for a few years, this may very well be “old material” but if you’re new, or forgetful, hopefully this will be helpful for you in your last minute attempt to pull together some gift ideas for Christmas! Click on the recipe/tutorial names to be linked to posts about each! {Some of these tutorials are my own, others are ones that I tried & loved… all sources noted or linked to!}

First a few ideas from the kitchen…

::CINNAMON HONEY BUTTER::

Was a big hit last year…

jar

And, if you really love the person you’re giving it to, you may want to include a loaf of…

::HONEY OATMEAL BREAD::

So they can toast it and lather it up with Cinnamon Honey Butter!

finished loaves

::CANDY CANE HEARTS::
This isn’t necessarily something you may want to do for Christmas, but consider it a reminder to buy little candy canes now {in December} to put away {in a place your kids can’t find} until February because you can’t find them in February!

choc cup7

::Icebox Cake::

This one is from WAY back but a super simple and DELICIOUS cake that you can make for a gathering or to give away. It’s a brainless, no-bake, really delicious cake that will make your guests/recipients ask you for the recipe!! The Nabisco Famous Chocolate wafers can be hard to find {Publix sells them with the ice cream toppings/cones} but worth the search. The cookies become soft and spongy when they absorb the whipped cream and the combination is dangerous!

Icebox Cake

Now, if you’d rather sit behind a sewing machine… here are few ideas for you!!

::Coffee Cozy by Erin Harris::

Last year I tucked gift cards in to-go coffee cups wrapped in a cozy! I also wrapped cookbooks in dishmats…

gifts

::DISH MAT::

This little gem is a permanent fixture on the counter above my dishwasher. It is basically a little quilt for dishes that are drying {because my dishes rarely come out of the dishwasher completely dry}. The top side is pieced & top stitched with fun fabrics and the back is terrycloth for absorption. There may just be a dozen of these headed to the t-shirt shop so stay tuned!

dishmat5

::Pleated Apron::

For a while this link was down {my apologies} but now it’s up and running and an easy sewing project!

apron2

::RICE BAG HEATING PAD::

This little rice bag is my best friend. I use it every night in the winter! Three minutes in the microwave and then I tuck it in the bed before I crawl in. It’s  also wonderful to use for aches and pains! And… easy & inexpensive to make using rice & fabric scraps!!

microwave

::STAMPED ONESIES::

This is an easy, no-sew project, for the little ones in your life. Using stamps {from the $1 rack at Michael’s} and a little fabric paint you can create cute & easy little onesies for the rovers in your life!

4shirts

::SOCK MONKEY & SOCK RABBIT::

Super easy, super fun…

IMG_4210

rabbit3

Last year I gave Sloane the sock rabbit above and did a little hand stitching on a soft gown… another easy way to transform something basic! I don’t have a tutorial for this one, I used a washable fabric marker to draw my design then stitched it out by hand using basic stitches and a back stitch for the grass! This is a great site for the wide variety of hand stitches!

sloanesporcupine

This is another oldie…

::TOTE BAG::

This is my Community Bible Study bag and I love it; super sturdy with gusseted bottom, cute, and easy to make!

totebag

::PICNIC BLANKET::

This is the tutorial I did last month for Edie. It’s recent and you probably remember it but I thought it would be helpful to include it in this post!

finished1

alldone

Ok rovers, hope that was helpful! Happy making! See you real soon with one more idea!